Step 1
Chateeze Login
Chatbot Configuration Guide
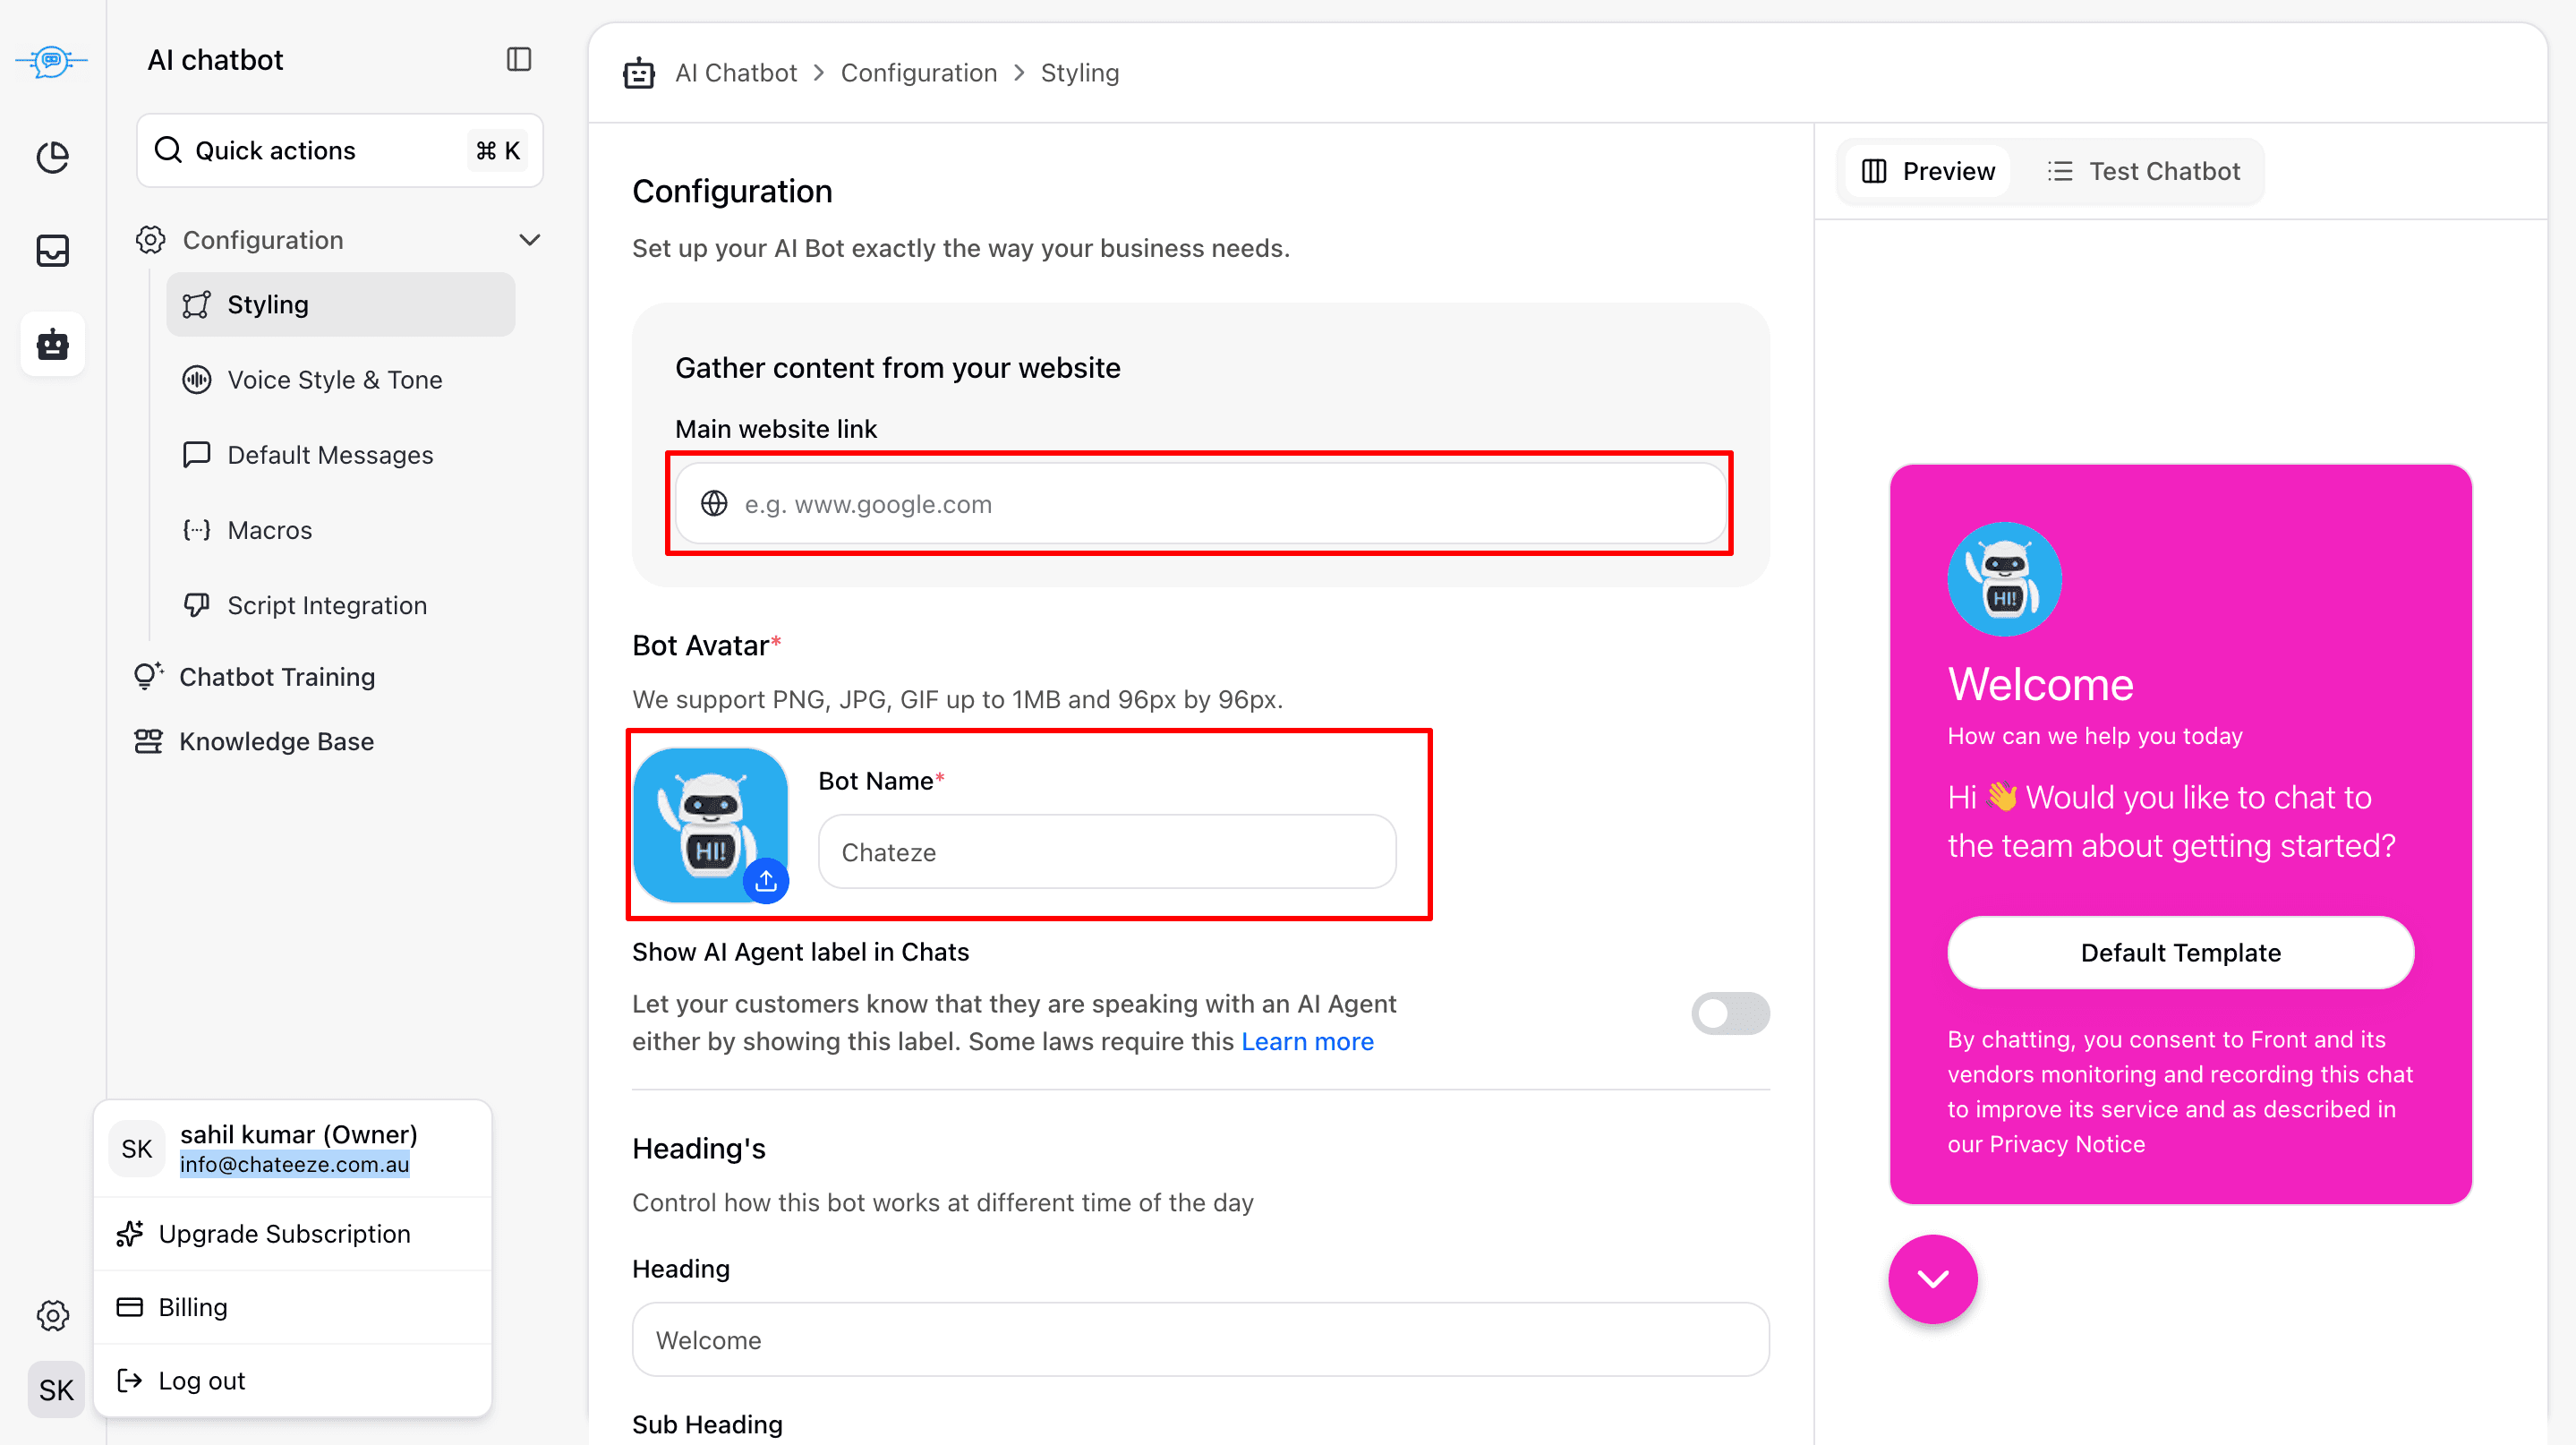
Configuration: Set up your AI chatbot to match your business requirements. From branding to availability, this section allows you to fully customize how your chatbot behaves and appears to users.
Bot Avatar: Upload a visual identity for your chatbot. Supported formats include PNG, JPG, and GIF, with a maximum file size of 1MB and recommended dimensions of 96px × 96px for best display quality.
Headings: Customize the chatbot’s greeting and messaging. Headings can be adjusted based on different times of the day, allowing the chatbot to deliver a more personalized and contextual user experience.
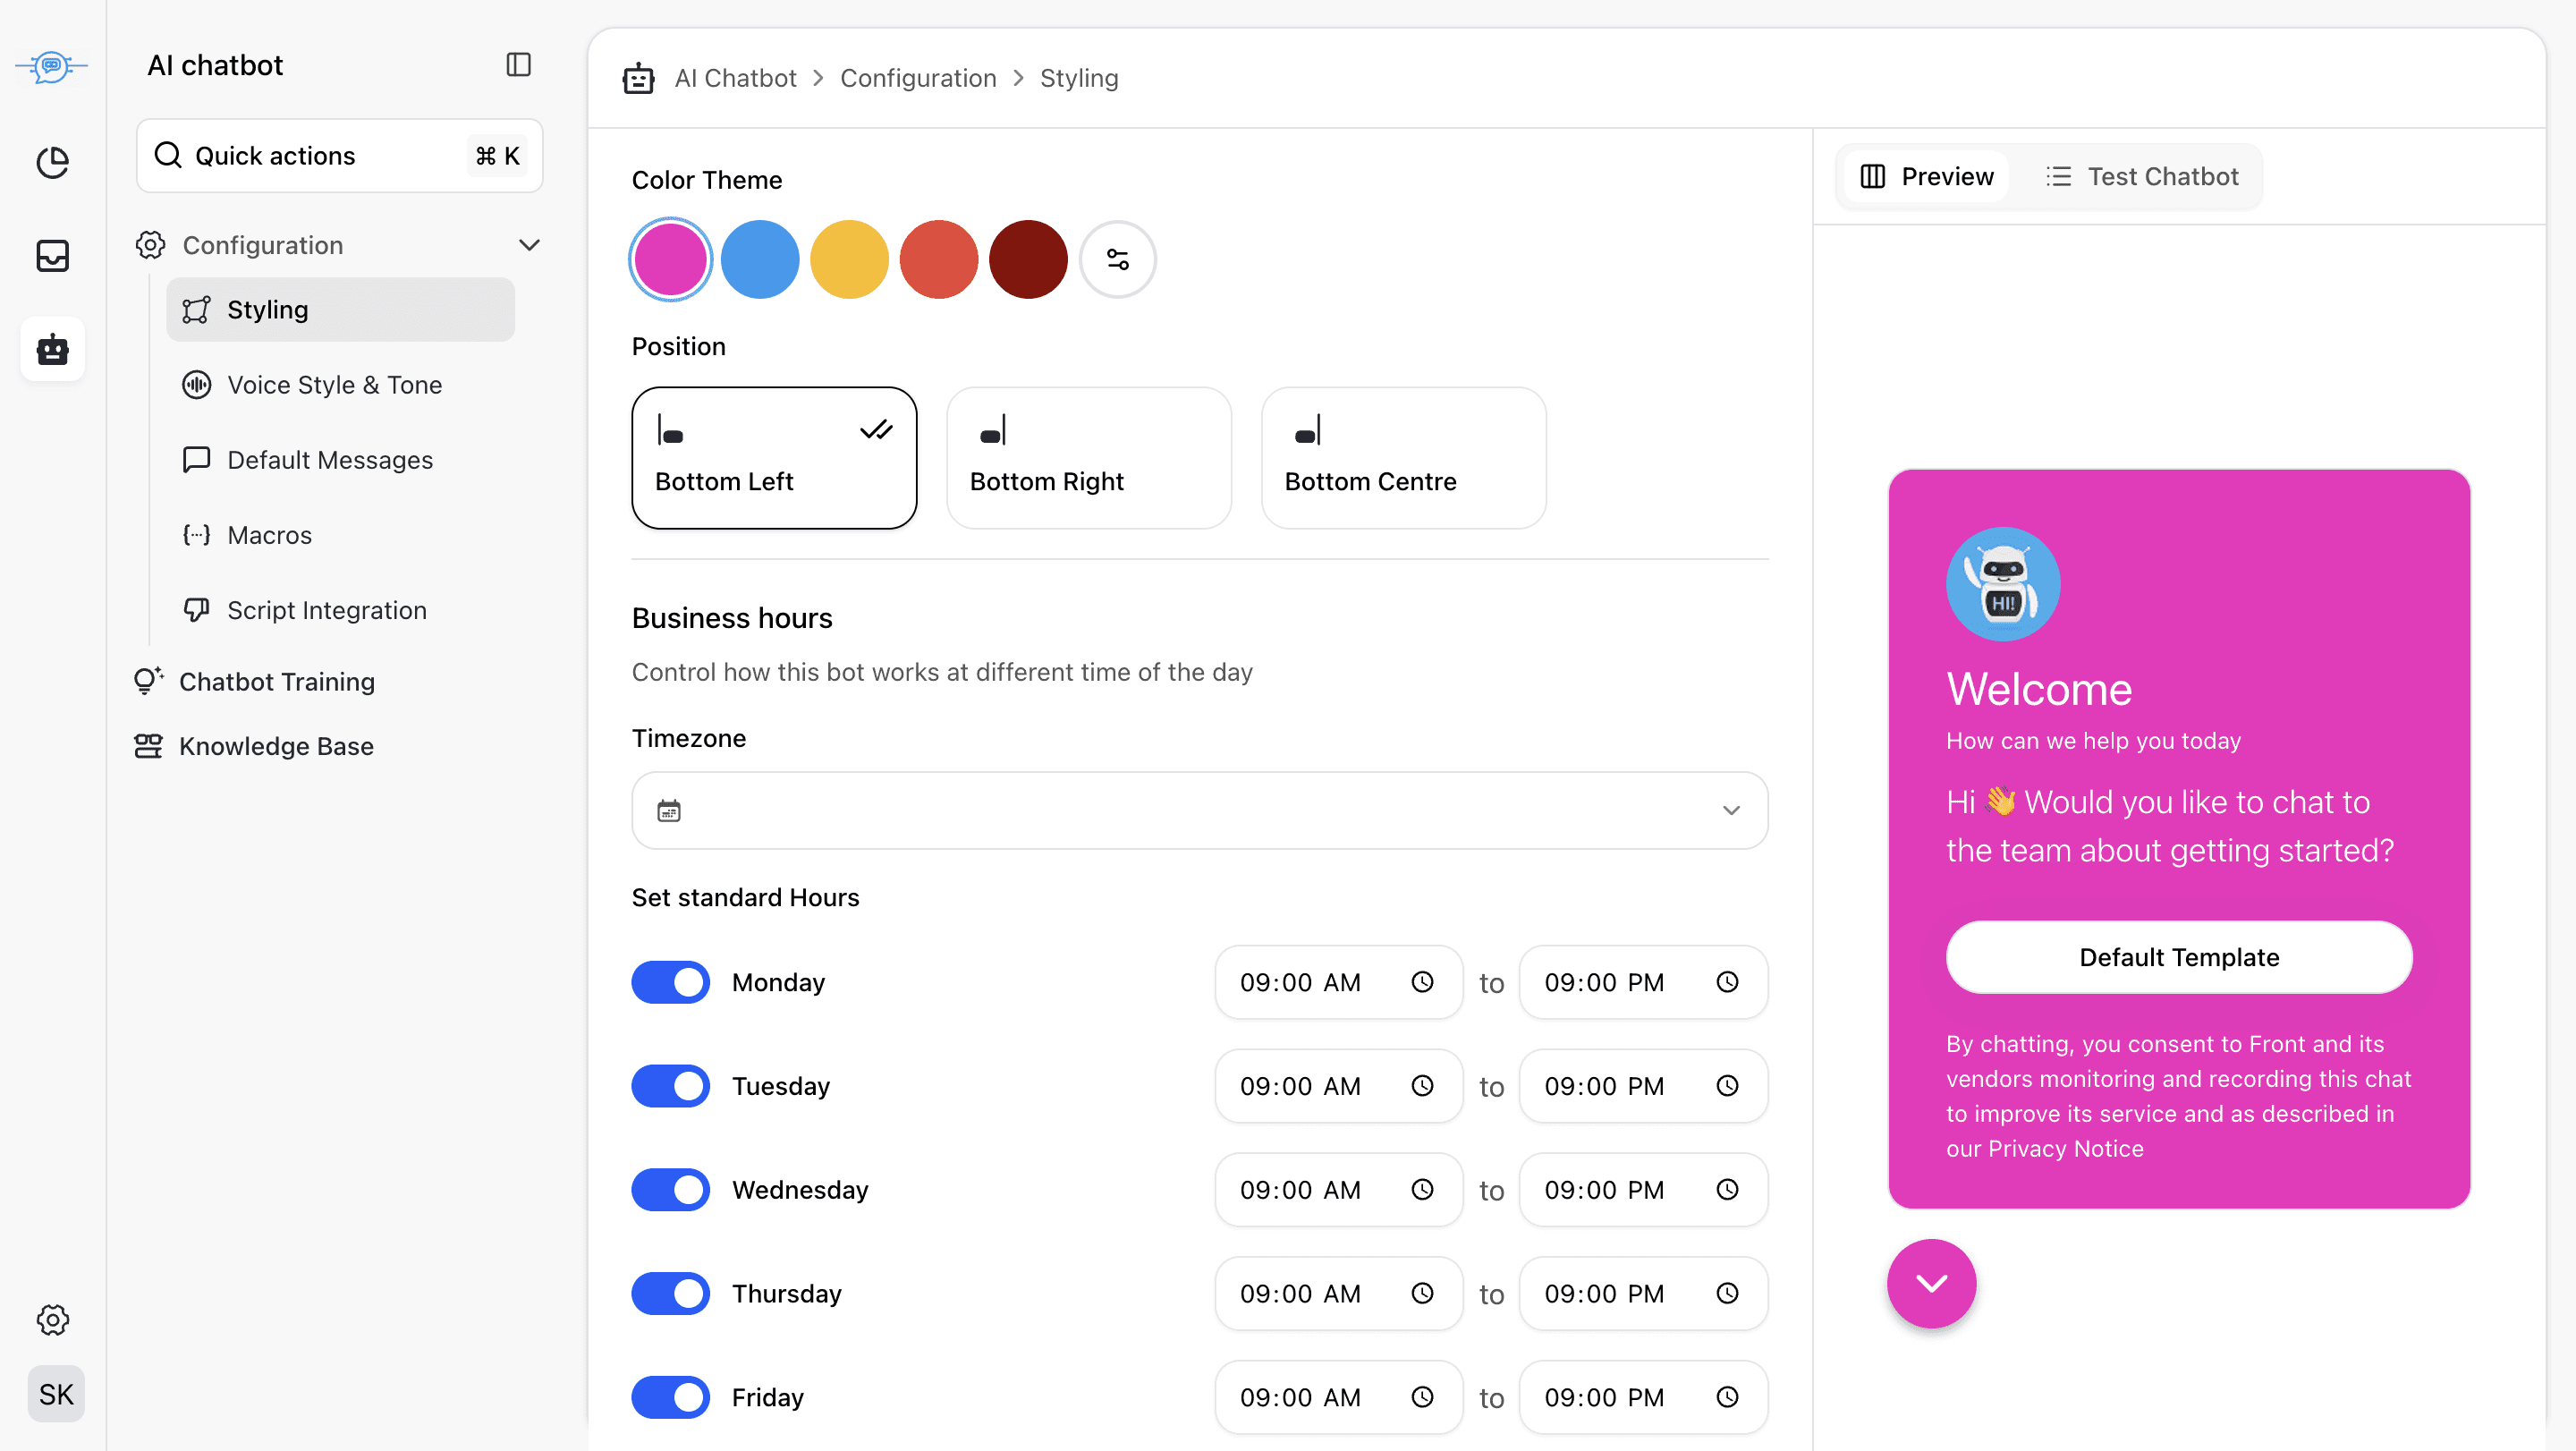
Color Theme: Choose a color theme that aligns with your brand identity. This ensures the chatbot visually integrates with your website design.
Business Hours: Define your working hours and timezone. The chatbot behavior can change based on availability, helping manage user expectations during off-hours.
Step 2
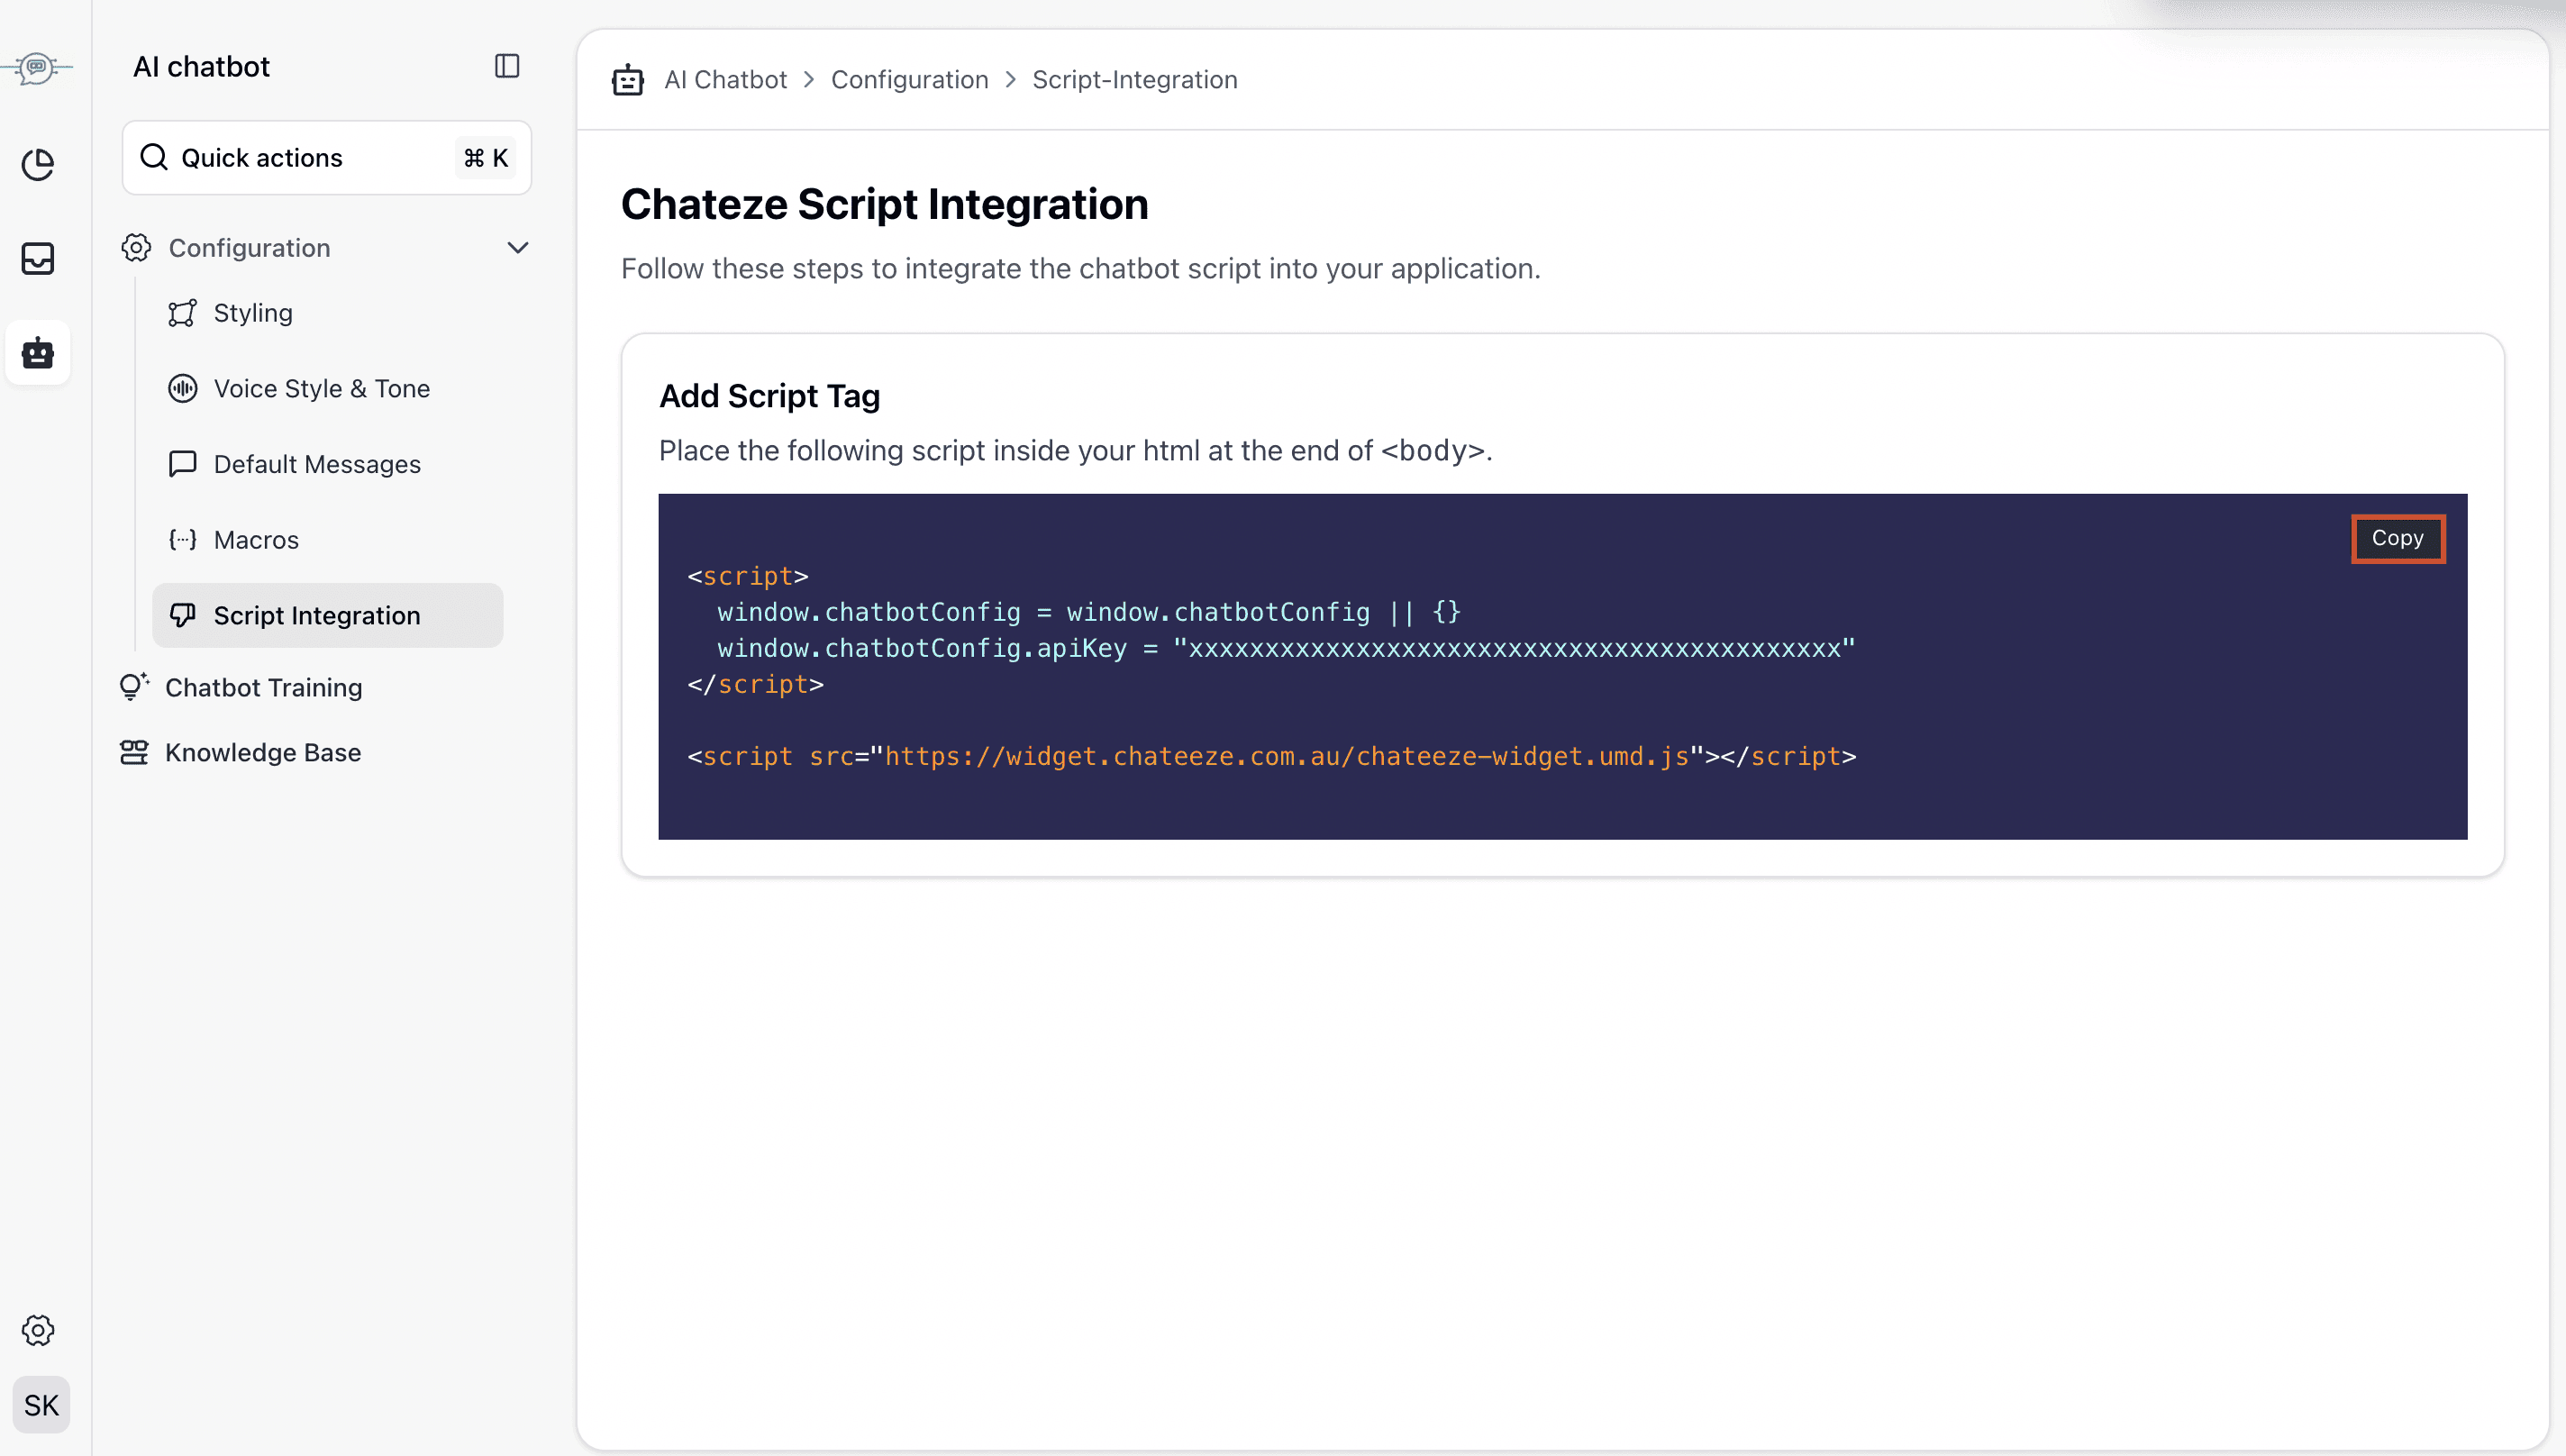
Copy the Chatbot Script
Once setup is complete, copy the embed code or JavaScript snippet provided by the chatbot platform.
Step 3
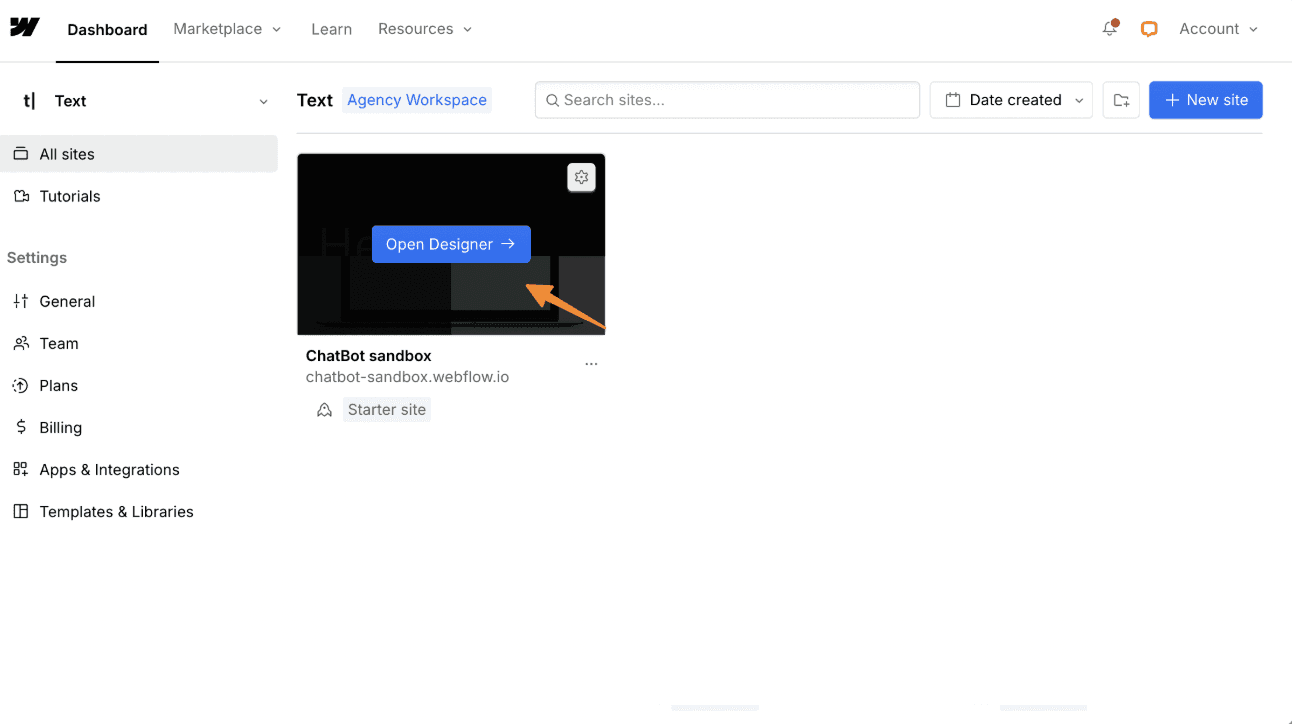
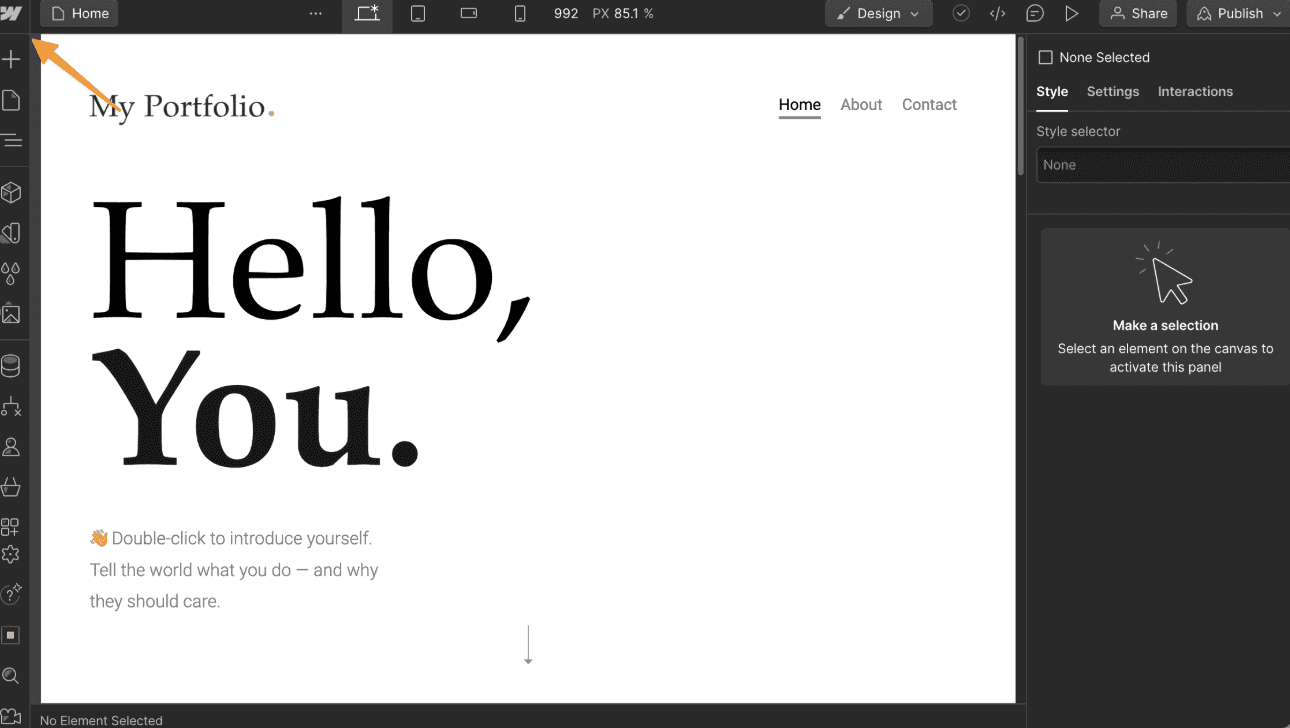
Open Your Webflow Project
Log in to your Webflow account and select View dashboard. Select the page on which you want to add a bot.
Step 4
Add Custom Code
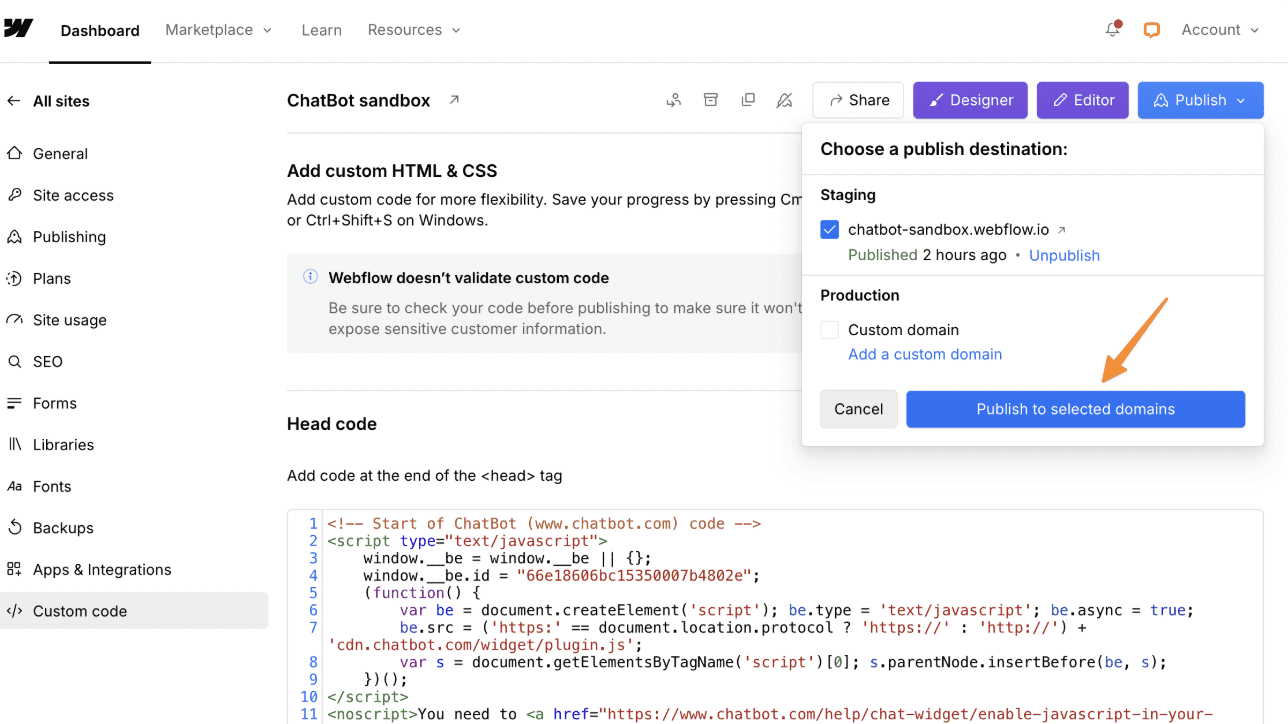
Go to Project Settings → Custom Code.

Paste Script in Footer Code
Paste Script in Footer Code: Paste the chatbot script inside the Footer Code section so it loads across all pages.
Save Changes & Publish: Save the settings and publish your Webflow site.